These days my head is filled with wanting to get more watercolours as part of my EDC (everyday carry) but haven’t been able to find the ‘right’ one apart from the Peerless watercolors I already have in my Traveler’s Notebook.
Until I found these small clear containers on Taobao, but the coordinating case for it was still too thick to use. And then lightbulb idea, when the phone protective film that I purchased came with a very slim plastic case. Immediately I tried putting the containers inside and they fit perfectly inside! Yippee!
It’s always great when you can combine a DIY and recycling something at the same time.
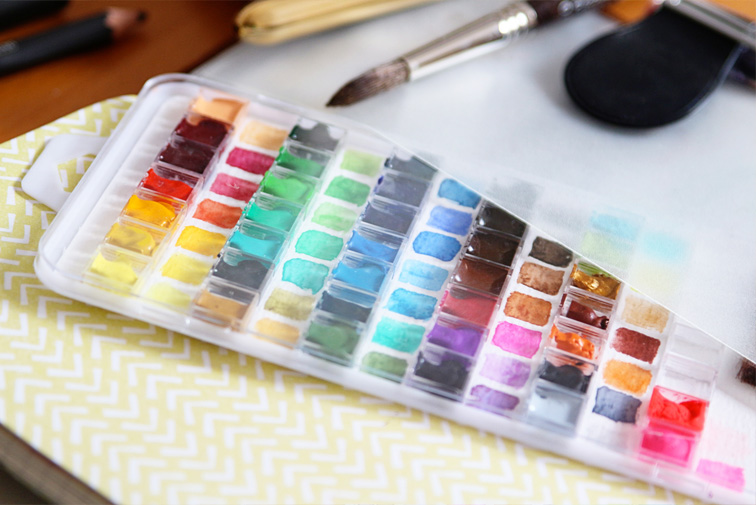
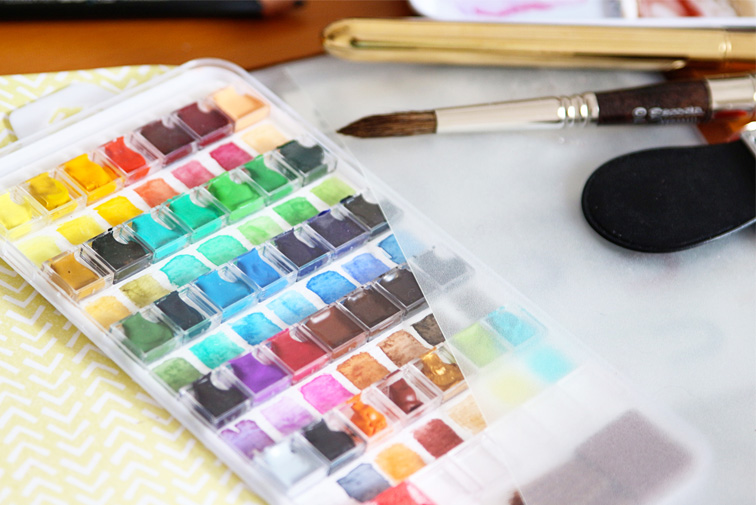
This is the finished watercolour palette that fits perfectly inside the zipper case of my Traveler’s Notebook. It still has some empty slots for any new colours I want to add later on.


So, I want to share with you how I did this.
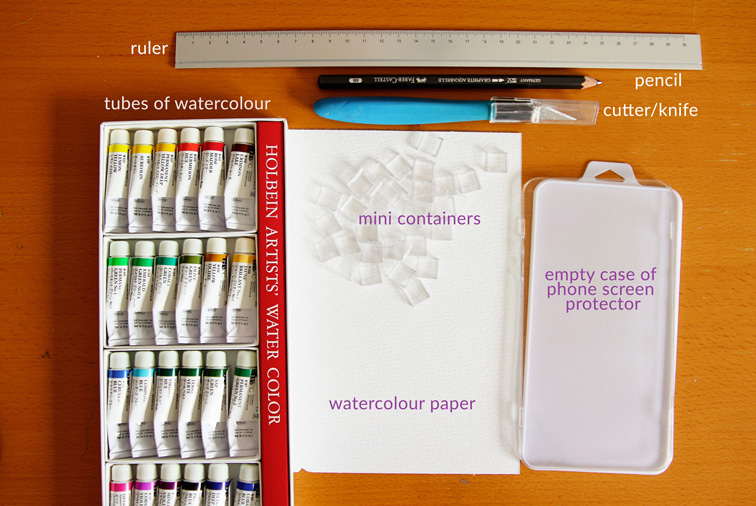
MATERIALS NEEDED :
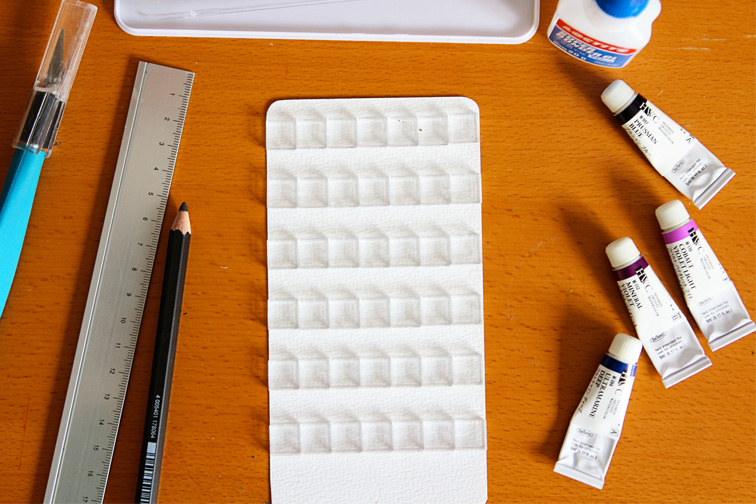
• cutter/knife
• ruler
• pencil
• empty plastic case (from protective film)
• instant glue
• mini containers (for the watercolours)
• watercolour paper
• watercolours
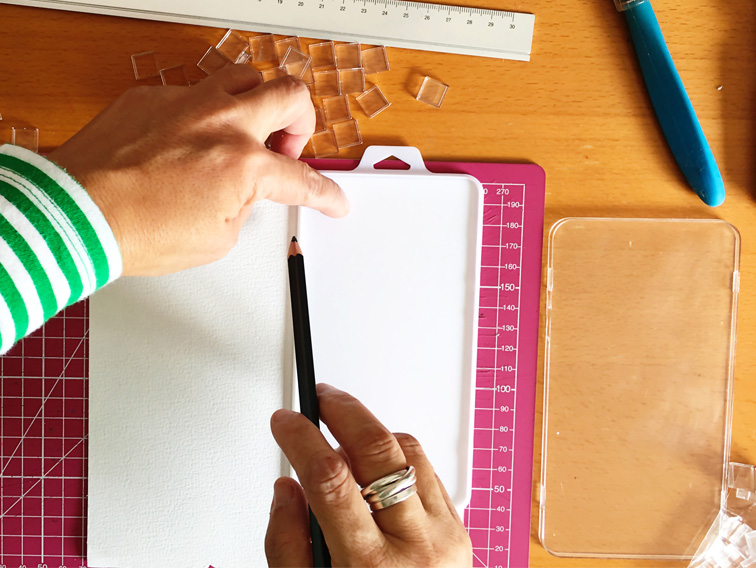
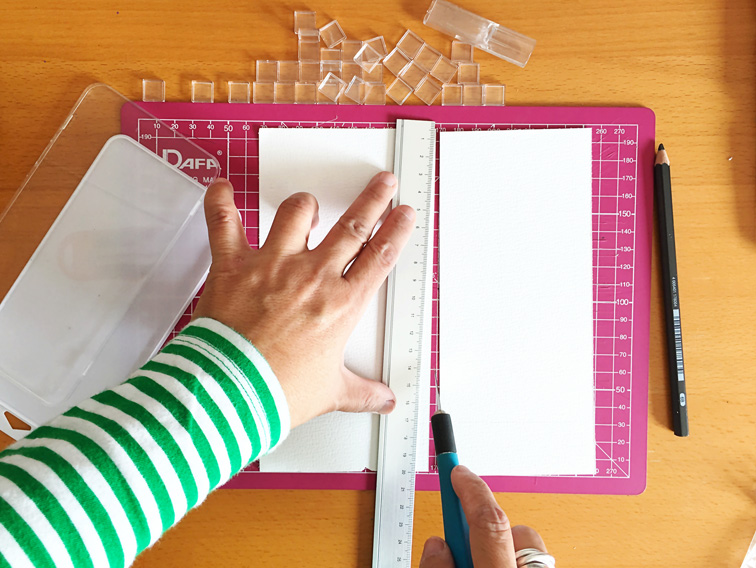
Start by cutting a piece of watercolour paper that fits inside the empty case. I basically just used the case as a guide and trimmed it down to size.
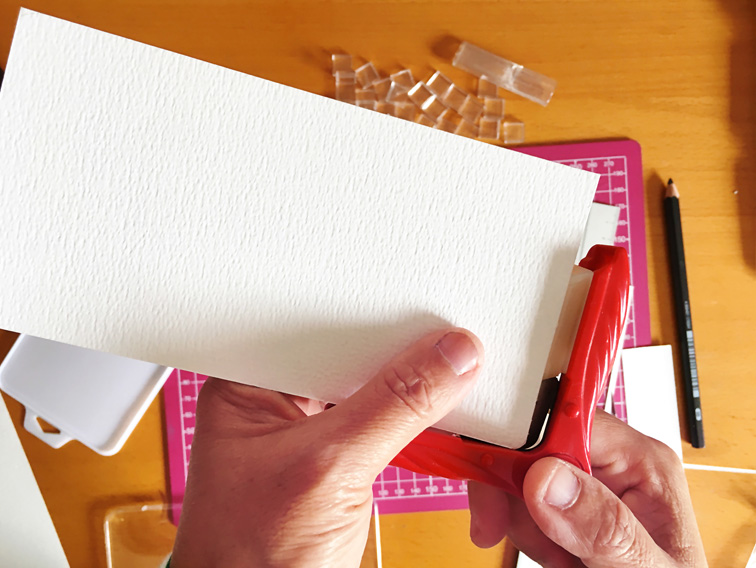
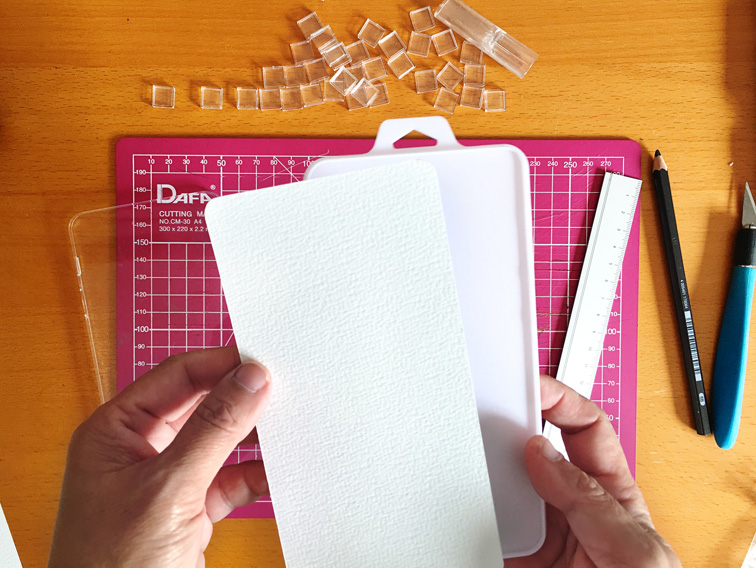
You can use a corner cropper or scissors to round corners; my empty case had rounded corners.
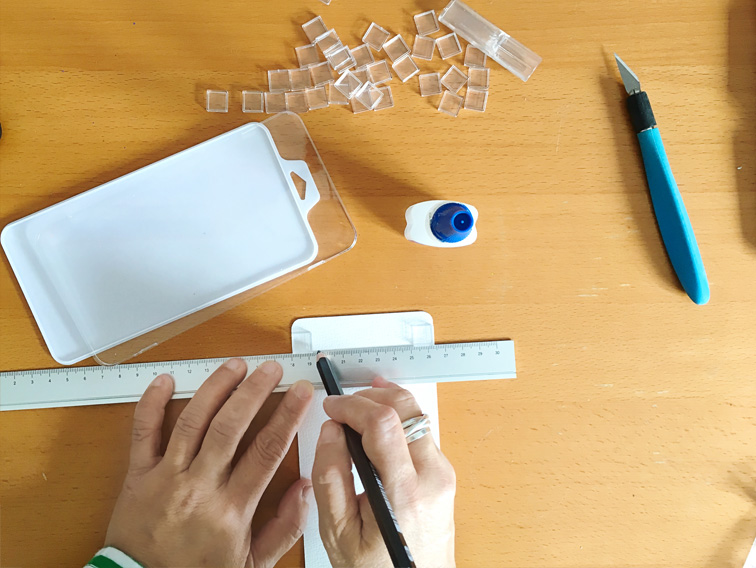
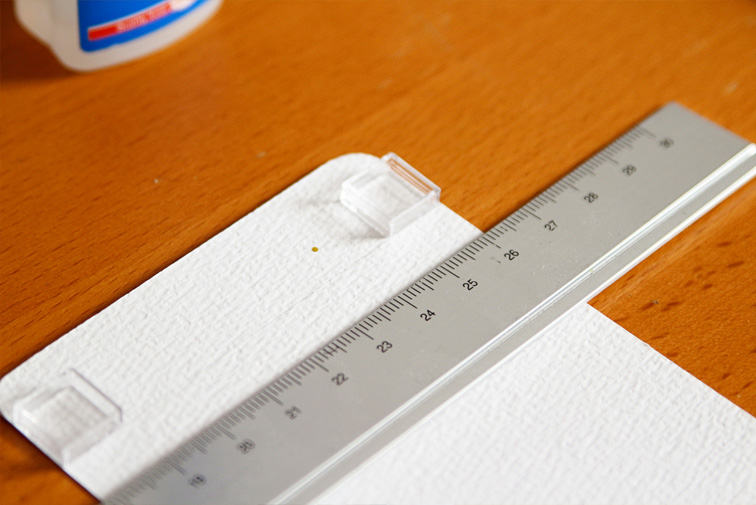
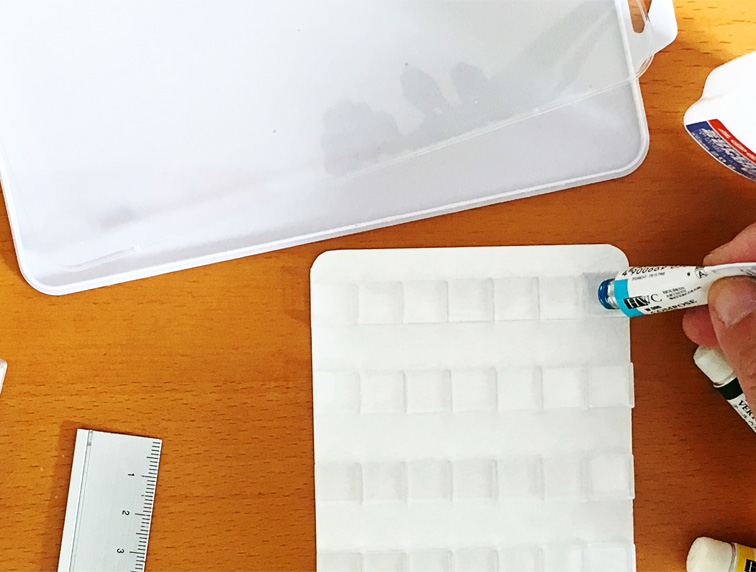
Start placing an empty container on top of the trimmed watercolour paper to measure where you want the first row placed. I drew a line with a pencil to help me get the containers in a straight row.
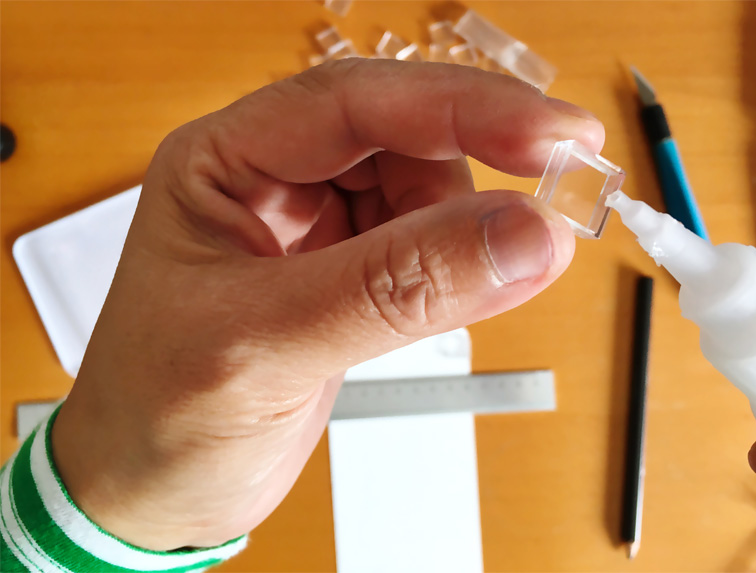
Adhere each mini container with instant glue or any other strong adhesive.
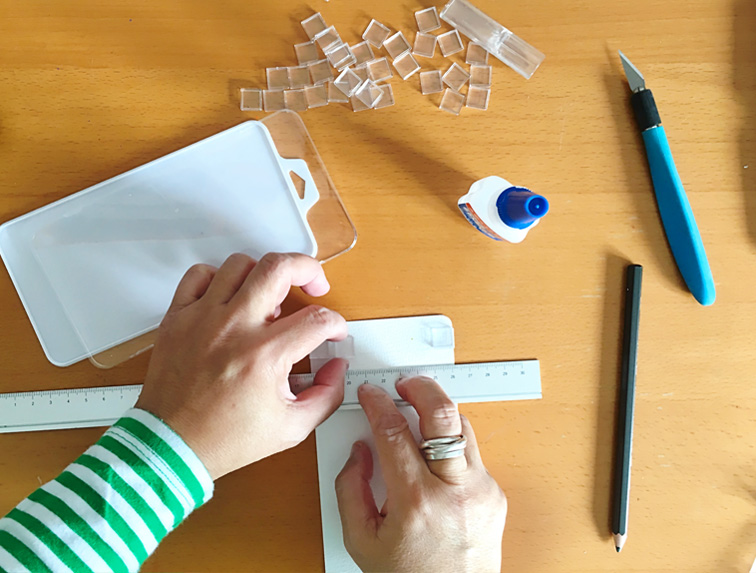
After the first row is in place, I used an empty container to set the distance between the next row that way I get even spacing in between rows. Put another empty container on the other end and then use a ruler to draw a line between the 2 ends.
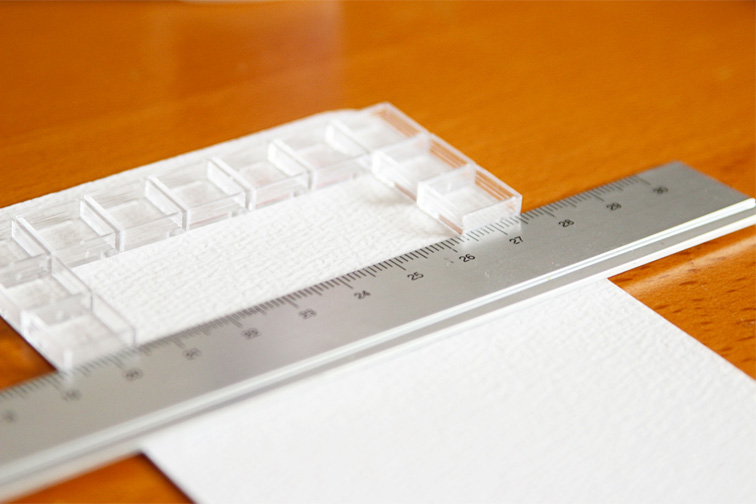
Do the same as in the previous row, adhere the mini containers onto the watercolour paper, following the line you just drew.

Do as many rows as you want.
And then the fun part. Start adding watercolour into each of the mini container.
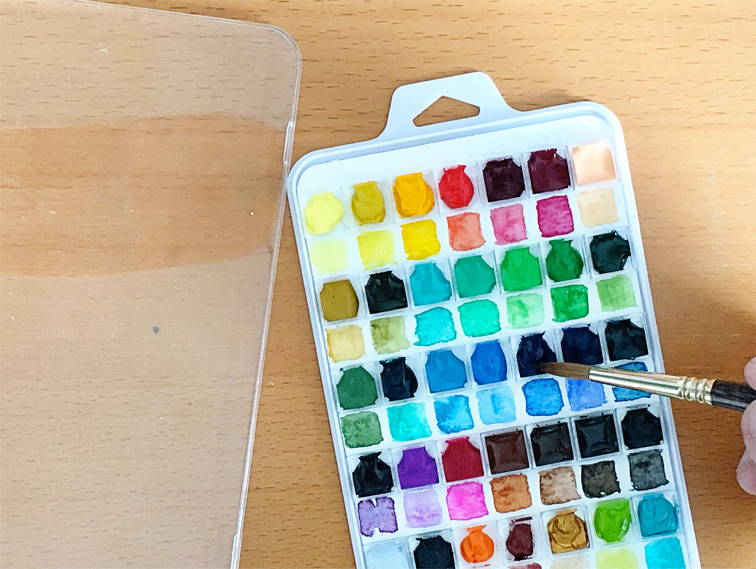
I also painted swatches onto the watercolour paper.
And you are done!
Hope you enjoyed this mini tutorial.